How to Start a Backyard Garden

But what if you're working with a small yard—or none at all? Don't worry! With a little strategic planning, you can successfully grow a garden, no matter the size of your outdoor space.
Below, we’ve brought together the best tips and steps for starting your own backyard or small-space garden.
Step 1: Set a Goal and Choose the Right Plants
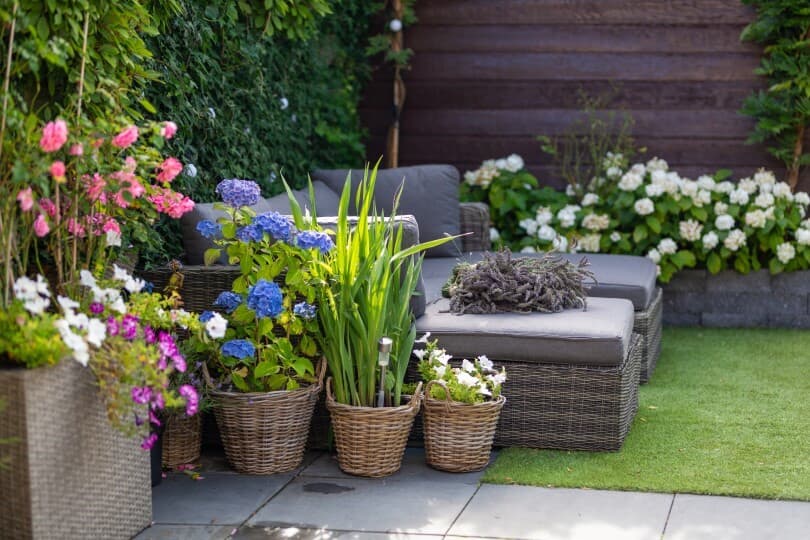
Before you dig in (literally), think about what you want from your garden. Are you growing fresh herbs and vegetables for your kitchen? Do you want a little oasis right outside your back door? Or maybe it’s a bit of both!
Setting a clear goal helps determine your plant selection, container types, and level of care you’ll need to put in. Start simply with just a few complimenting vegetables or flowers. Once you know what you feel comfortable maintaining, you can decide how to expand.
For small spaces, stick to plants that thrive in compact environments—herbs, salad greens, strawberries, and dwarf vegetables and fruit trees are great options. Consider what’s locally available and what you’ll enjoy using most.
Step 2: Pick the Perfect Spot
Just as it’s true in real estate, gardening is all about “location, location, location.” Decide where you’d like to set up and display your garden in your yard. Ideally, it’s a spot where you can keep an eye on it. If you can see your garden on a regular basis, you’re more likely to remember to prune and water it—out of sight often equals out of mind.
You’ll also want to consider how much sun your plants need. Most vegetables and herbs need at least six hours of sunlight daily, while fruits may require up to ten. If your space doesn’t get much sun, opt for shade-loving plants like leafy greens, herbs, or flowers like begonias.
The Crest at Linton Hall Community, Bristow, Virginia
Step 3: Understand Your Climate
Different climates and weather conditions require specific considerations for gardening. You’ll want to understand the average temperatures in your region, including the lowest winter and highest summer temperatures. Knowing this information will help you select plants more likely to thrive in your climate and determine the ideal planting times.
Researching average rainfall, wind exposure, and frost dates will help you decide if you need to plan for any additional support systems. If you live in an area with limited rainfall, plan for irrigation systems to ensure your garden receives enough water. If your area has strong winds, you may need to consider windbreaks or support structures. If you live in a colder climate, you’ll want to use cold frames or row covers to extend your growing season and protect from late or early frosts.
Knowing your USDA Plant Hardiness Zone helps you choose plants that can survive and thrive in your region’s typical temperature range. In Canada, refer to the Canadian Plant Hardiness Zones, which consider additional factors like frost dates and wind exposure. Local garden centers or extension offices are great resources for finding this info and getting zone-specific planting advice.
Step 4: Decide on Your Gardening Method
Depending on your space and goals, you might choose:
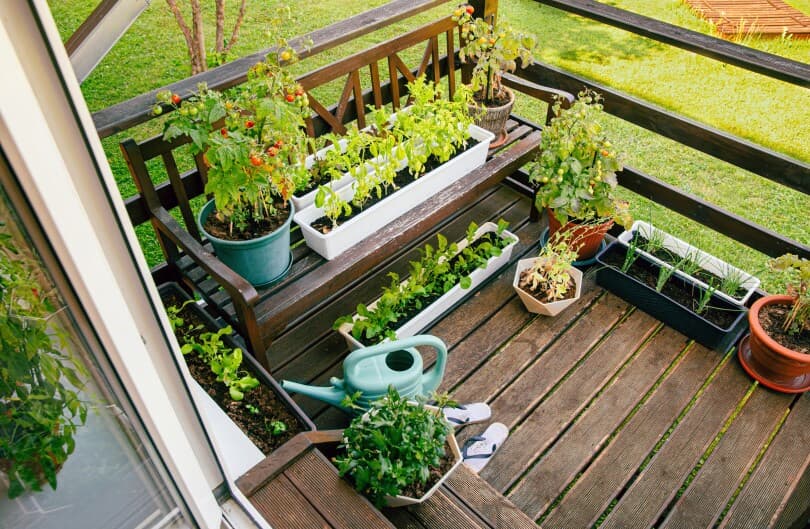
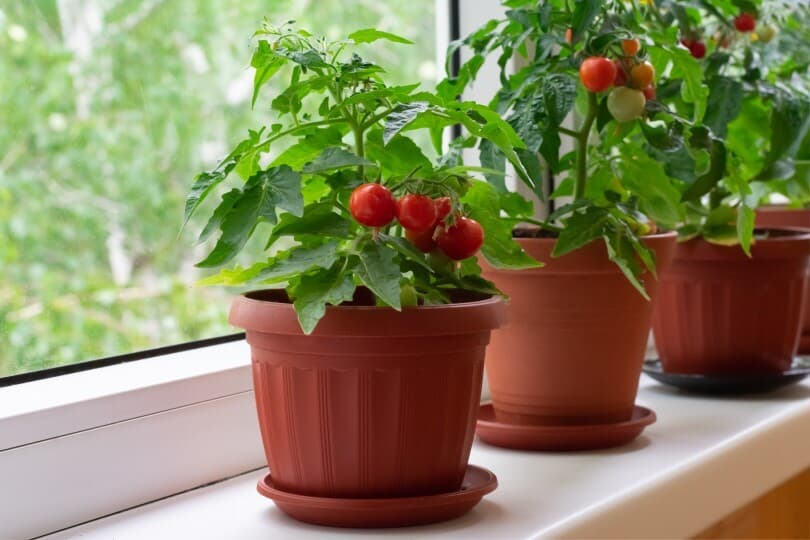
Container Gardening
Containers in various sizes are great for small patios or balconies. When looking for plants that will thrive in containers, look for terms like “compact,” “tidy plant habit,” or “short stature” on plant or seed pack descriptions.
Large plants like beans, cucumbers, and tomatoes require large pots (two feet in diameter or more), while smaller pots are perfect for things like peppers, greens, kale, and herbs.
Raised Garden Beds
If you have more room, invest in a raised garden bed; they’re ideal for small yards and easier on your back. They offer good drainage and soil control, and depending on the natural light, you may be able to utilize the space underneath and further maximize your gardening space.
In-Ground Gardens
In-ground gardens are ideal if you have more space but require more prep work. This more permanent garden type allows for deeper root growth, which can be especially beneficial for crops like carrots, potatoes, and tomatoes.
They also retain moisture better than containers or raised beds, meaning you may not need to water as frequently. However, preparation is key—testing the soil, incorporating compost or organic material, and staying on top of weeding are essentials for maintaining healthy, productive plants.
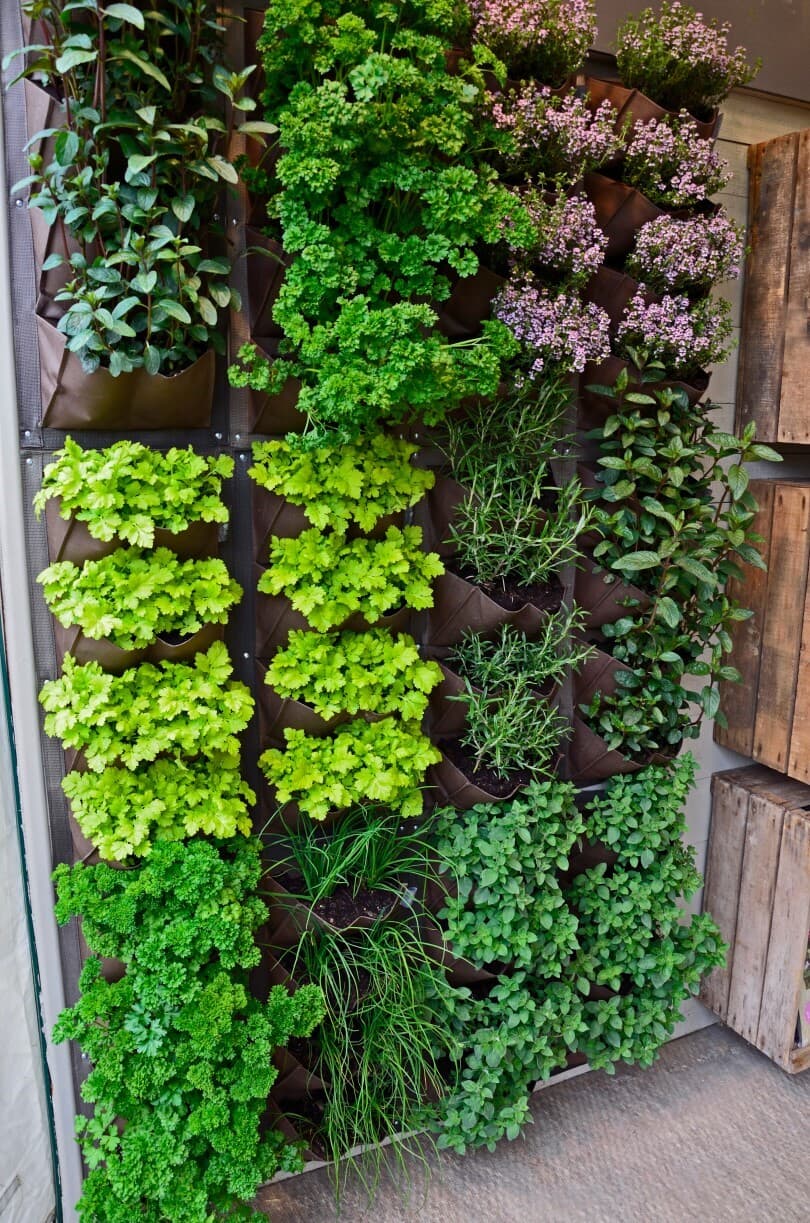
Vertical Gardening
If you’re working in a small space, utilize trellises, wall-mounted planters, or hanging baskets to grow up, not out. Make sure to put them on the north side of your garden area so you avoid shading the smaller plants. Cucumbers, tomatoes, peas, and pole beans are all eager climbers.
You can also stack containers to create an herb tower. It’s an easy DIY project that is not only a welcome decorative element to any small garden but creates even more room for various herbs, making the most of a small space garden.
Turn your unproductive wall space into a living herb wall. Just about any herb can be used in an edible wall. Herbs such as oregano and thyme will trail and spill, while basil and sage add a leafy fullness. The aesthetic will change and improve as the herbs grow and fill out the wall.
If you feel your outdoor space can’t accommodate a garden, even a 2-foot-wide windowsill box can host several herbs or salad greens!

Step 5: Prep Your Soil
Healthy soil is key to a thriving garden. High-quality soil rich in nutrients and organic matter ensures healthy plant growth. Fertile soil is important to the development of all plants, but even more so with vegetables, as the taste is affected by the quality of the soil.
Containers and raised garden beds give you the advantage of starting your garden with the perfect amount of dirt and organic material, but they can be costly to fill and require more frequent watering as the soil can drain quickly.
In-ground gardens require more upfront work – testing the soil to understand its current pH and nutrient levels, adjusting the soil with compost to improve its fertility, clearing rocks, weeds, or debris, and tilling the ground to create the right environment.
Sprinkle slow-release fertilizer before planting and top with mulch to deter weeds and retain moisture. Plants in small containers often dry out faster, so be diligent with watering.

Step 6: Use Smart Planting Techniques
Group the plants with similar water, sunlight, and soil requirements together to maximize the use of space. Plants that are too close together end up competing for nutrients and light. So, fewer properly spaced plants will give you a better yield than squeezing in as many as possible in a small space.
Companion Planting
Companion planting involves planting different crops together so they benefit from each other, and the right combination of plants can help deter pests. Shade-tolerant plants benefit from being planted next to taller crops.
For example, tomato and basil are natural companions in the kitchen, but their pairing starts as early as the garden, as basil helps repel pests typically drawn to tomatoes, and it loves the shade provided by the taller plant.
Interplanting
Interplanting or intercropping is the practice of planting small crops between bigger ones. The small, fast-growing crops will be ready before the big ones need that extra space. This allows you to use your area more efficiently and for a longer time.
Early-harvested vegetables, such as spinach, radishes, and peas, can be planted with slower-growing crops, such as broccoli or peppers. You can also interplant using flowers. The vegetables will look ornamental, and you will attract pollinators to your vegetable crops—a win-win!
Succession Planting
Succession planting keeps your garden in continual production. Whenever you harvest one crop, have seedlings ready to transplant in its place. It’s a useful technique for any vegetable garden, but even more so when space is limited.
Plant Grouping
Cluster plants with similar water and sunlight needs to avoid competition. When you group plants with the same requirements, you make watering and care more efficient and prevent issues caused by over- or under-watering neighboring plants with different needs.
For example, placing drought-tolerant herbs like rosemary and thyme together keeps them thriving without overwatering. On the other hand, grouping moisture-loving crops like lettuce and spinach ensures they get the hydration they need without drying out.
Smart plant grouping maximizes productivity and simplifies your daily gardening routine.
Chappelle Gardens Community, Edmonton, Alberta
Step 7: Invest in the Right Tools
Like good kitchen cutlery, the right gardening tools can turn a tedious chore into a joyful pastime. After all, you wouldn’t use a butter knife to chop vegetables! Investing in proper metal tools will save you time and effort and reduce the risk of injury.
You’ll need a few essentials: a trowel, pruning shears, a watering can or hose, gloves, and a spade.
Once you’ve made the investment, take care of your equipment. Keep your tools clean and sharp, just as you would a good kitchen knife.
Step 8: Purchase High-Quality Seeds or Plants
Depending on your preference, you can start your plants from seeds or purchase young plants from a local nursery. High-quality seeds have better germination rates, meaning a higher percentage will sprout and grow into healthy plants.
High-quality seeds can lead to better-tasting and more nutritious produce for edible plants. If you prefer to start with young plants, research reputable nurseries, as their plants tend to be healthier and more robust.
Added bonus? If you save the seeds from the high-quality plants you grow and replant them, this can lead to a self-sustaining garden that will adapt and thrive in your specific backyard over time.
Step 9: Plant with Care
Now that you’ve done the groundwork, literally and figuratively, you’re ready to start planting! If you’re starting from seeds, read the package directions thoroughly for proper planting depth and spacing.
Typically, seeds should be planted three times as deep as their diameter and adequately spaced to avoid overcrowding. Proper planting sets your garden up for success from day one.
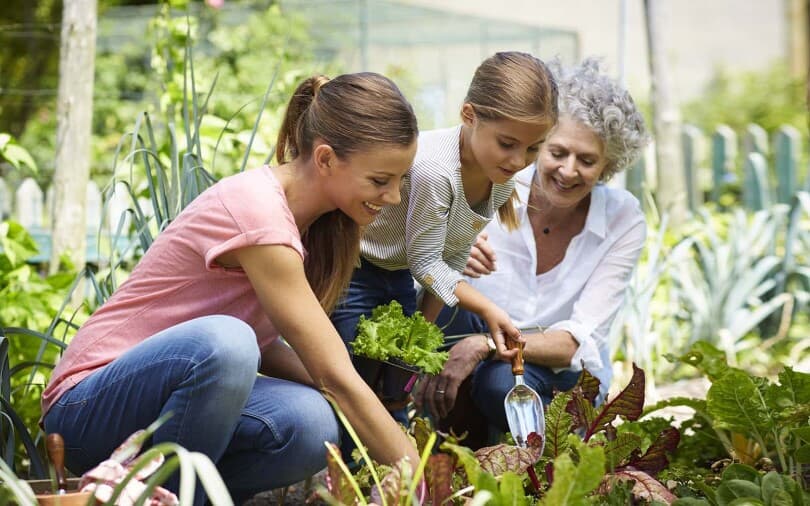
Step 10: Maintain Your Garden
Gardening is not a one-and-done activity. It’s an ongoing process that requires attention and care.
Watering
Regular watering is essential to your garden’s success. Check the moisture levels frequently and adjust your watering schedule based on the weather and the needs of the plants. Over-watering is just as bad as under-watering. If you’re guilty of either, consider installing a drip irrigation system to control the amount of water your plants get automatically.
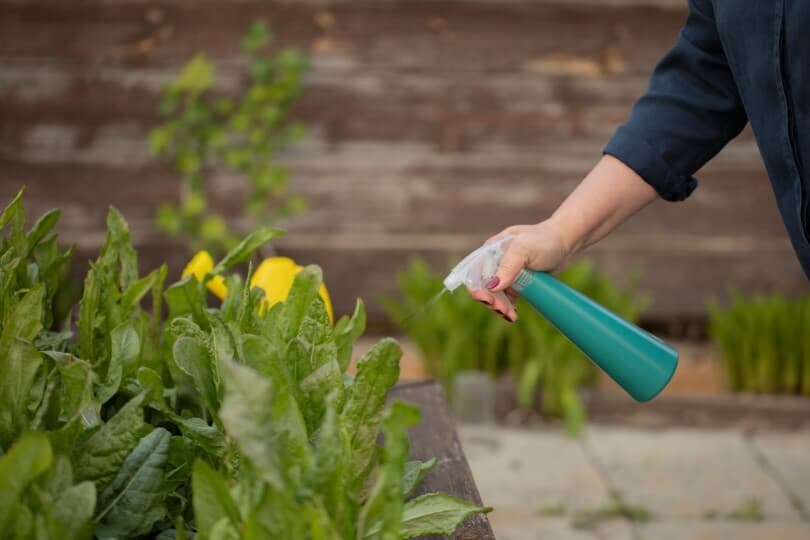
Weeding and Pest Control
The last thing you want is uninvited guests in your garden. Regularly remove weeds from your garden beds to prevent them from competing with your plants for nutrients and space. Monitor your plants for signs of pests or diseases. Use natural remedies to help keep your garden healthy without harming your crops.
Fertilizing and Mulching
Keep feeding your soil; high-quality soil is the foundation for any successful garden. Applying a layer of organic mulch will help the soil retain moisture, suppress weeds, and improve overall soil health. Depending on the types of plants you’re growing, you may need to provide additional nutrients through fertilizers. You can use organic fertilizers or compost for a more sustainable approach.
Pruning and Harvesting
Prune any dead or diseased parts of your plants as well as branches, stems, and foliage. Doing so helps stimulate new growth and restore their vigor. Regularly pruning helps maintain your plants' desired shape and appearance and helps control the size and spread to ensure they fit in their designated space without crowding neighboring plants.
Harvest your crops as they become ripe and ready. This ensures the plants continue growing new produce, prevents overripening and spoilage, and removes any temptations for pests. By staying on top of harvesting, you encourage the plants to allocate their energy more efficiently, leading to better yields and longer production throughout the growing season.
Step 11: Keep Learning
Gardening is one of the best hands-on learning experiences you can have. Each crop will be different, and your gardening techniques will change year after year. Keep a journal or garden planner to track your planting dates, observations, challenges, and successes. You’ll have valuable insights to help you plan for future seasons.
Take what you learned, don’t be afraid to try new things, and experiment with different plants or techniques. Start small and scale up as your confidence grows.

Barefoot Community, Firestone, Colorado
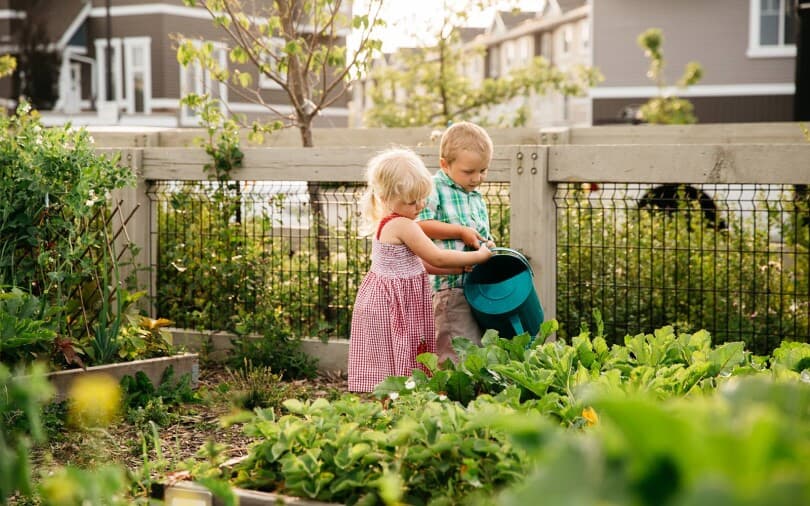
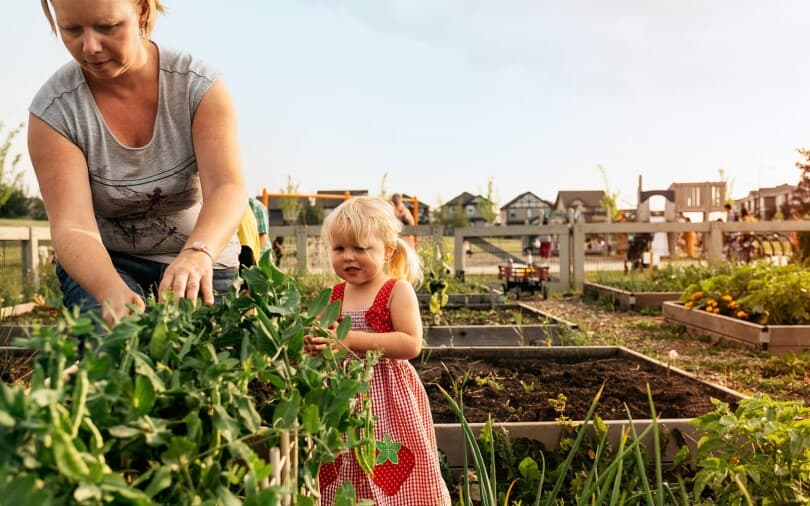
Bonus: Consider a Community Garden
Check for local gardens if your outdoor space isn’t quite right for a garden. Many neighborhoods have their own community garden that you can join.
Brookfield Residential proudly includes community gardens in many of our neighborhoods throughout North America. They’re a great way to meet neighbors and build a sense of community while working toward a shared goal.
Chappelle Gardens Community, Edmonton, Alberta
Starting a garden, even in a small space, can be a fulfilling way to reduce stress, grow your own food, and add beauty to your home. With a little effort and creativity, you’ll be harvesting in no time!
For more home tips and lifestyle inspiration, be sure to explore the Brookfield Residential blog or connect with our sales team to learn more about where we build. We’ll be expecting you!
