The Ultimate Spring Cleaning Checklist

De-winterizing your home and preparing it for spring can help you prevent any potential damage and ensure the house is ready for the warmer months ahead.
From the standard spring cleaning checklist to the nitty gritty appliance clean outs, we cover the steps to prepare your home for spring.
Check your roof for damage or leaks

No matter where you live, your region likely has its version of winter weather. Whether it was snow or heavy rain, your roof was exposed to harsh winter weather, and you should look for any signs of damage or leaks. Doing a thorough attic inspection twice a year when the seasons change can help you spot any potential problem areas before they become a major issue.
Inspect your gutters and downspouts
Clear out any debris that may have accumulated in your gutters and downspouts during winter. Clogged gutters can cause damage to your home when water doesn’t flow away from the foundation. Once you’ve removed leaves, twigs, and other debris, use a hose to flush out the drains to expose any leaks that need repair.
Check your windows and doors
While the cold causes frames to shrink, warm temperatures lead a window or door frame to expand. This can cause cracks or gaps to form, which can let in drafts, moisture, and pests. Do a thorough inspection for any cracks or gaps and seal them with caulk or weatherstripping to keep your home energy-efficient.
Check your HVAC system

Replace your air filters, and have your HVAC system inspected and serviced by a professional to ensure it works efficiently and effectively. This will help prolong the system's life, reduce energy consumption and costs, improve indoor air quality, and prevent potential breakdowns or safety hazards.
Test your smoke and carbon monoxide detectors
Checking your smoke and carbon monoxide alarms is fast and simple. Press the test button on your alarm; after a second or two, it will make a loud siren or alert. You should test these detectors monthly and replace the batteries every six months.
Clean out your dryer vent
Sure, you know to clean out the lint trap filter in your dryer after every load, but did you know you should also clean out the whole dryer vent? Not only does this avoid a fire hazard, but it’ll also improve your dryer’s efficiency and indoor air quality.
If you are comfortable working with tools and have some basic knowledge of your dryer and its vent system, you can clean your dryer vent yourself. However, taking the necessary safety precautions and following the proper procedures is essential. Here are the basic steps involved in cleaning your dryer vent:
- Turn off your dryer and unplug it from the power source.
- Locate the vent on the back of your dryer and detach it from the wall.
- Use a dryer vent brush or vacuum attachment to remove any lint or debris from the vent.
- Clean the vent tubing and exhaust vent using a brush or vacuum attachment.
- Reattach the vent to the wall and the back of your dryer.
- Turn on your dryer and make sure it is running properly
If you are not comfortable cleaning your dryer vent, or if you have a particularly long or complicated vent system, it may be best to hire a professional to do the job.
Clean your oven
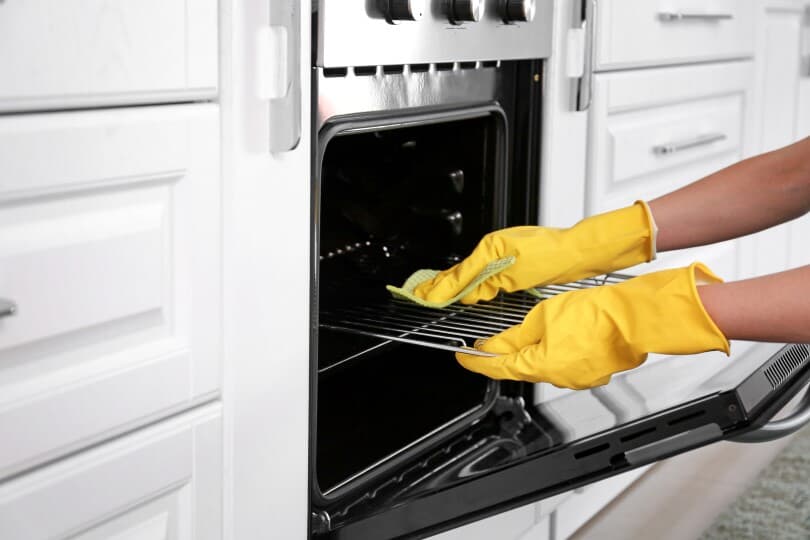
Even if you regularly clean your home, there are just some tasks that get overlooked, and one of them is cleaning your oven. Cleaning an oven is an important part of maintaining it, and there are several ways to clean it, depending on the level of dirt or grease buildup.
- Preheat the oven to around 200°F (93°C) for about 10 minutes. Then turn off the oven and let it cool slightly. This will help to loosen any grease or grime on the surfaces.
- Remove the oven racks and other removable parts, such as the thermometer, broiler pan, or pizza stone.
- Prepare a cleaning solution: Mix a half-cup of baking soda with a few tablespoons of water until you form a paste. Apply this paste to the oven’s interior, focusing on areas with the most buildup. Avoid getting the paste on the heating element if your oven has one.
- Let the paste sit for at least 30 minutes or overnight, depending on the level of dirt or grease buildup. This will give it time to break down the dirt and grease.
- Wipe down the oven’s interior with a damp cloth or sponge, using a scraper or non-abrasive pad to remove any stubborn spots. Rinse the cloth or sponge frequently.
- For especially stubborn spots, you can use a commercial oven cleaner designed for your oven type. Follow the manufacturer’s instructions carefully, and use protective gloves and ventilation as directed.
- Clean the oven racks and other removable parts separately by soaking them in hot, soapy water or using a commercial cleaner.
Once you have finished cleaning the oven, wipe it down with a damp cloth or sponge to remove any residue. Allow the oven to dry completely before using it again.
Clean your windows
Snow and rain can wreak havoc on your windows, and the blooming flowers are much less beautiful if you look at them through dirty windows. Once your forecast shows sunny skies, spend a weekend cleaning the interior and exterior of your windows.
- Gather everything you need, including a bucket of warm water, a few drops of mild dish soap, a squeegee, a microfiber cloth or chamois, and a ladder or step stool if needed.
- Start by removing any dirt or debris from the windows. Use a soft-bristled brush or a vacuum with a brush attachment to remove any loose dirt, cobwebs, or debris from the window frames, sills, and tracks.
- Mix a few drops of mild dish soap into a bucket of warm water and clean the windows with the solution. Dip a sponge or microfiber cloth into the solution and use it to wipe the windows, starting from the top and working your way down. Avoid using abrasive cleaners or sponges that could scratch the glass.
- Use a squeegee to remove the cleaning solution from the glass, starting from the top and working your way down. Be sure to wipe the squeegee blade between each stroke to prevent streaks.
- Use a microfiber cloth or chamois to dry the edges and corners of the window, working in a circular motion to remove any remaining moisture.
- Finish with a clean microfiber cloth or chamois to wipe down the window frames and sills and touch up any missed spots or streaks.
Declutter and organize
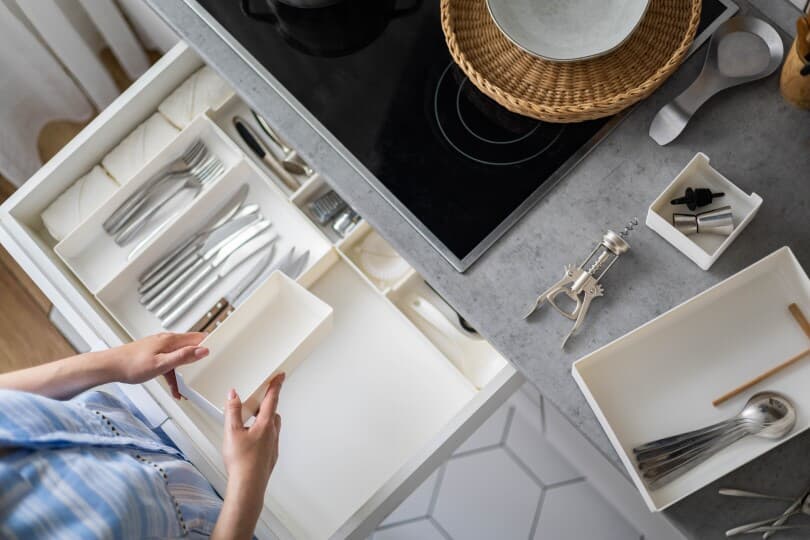
We’re all familiar with “spring cleaning.” Before you can start cleaning, you’ll need to declutter and organize your spaces. When there’s a lot of “stuff” lying around, your house inherently looks messy, no matter how clean it may be. Who can tell you recently mopped when the floor is covered in kid’s toys? Knowing how to declutter your home can may the task more manageable, and you’ll be done before you know it!
Weed, prune, and tidy your yard
Once your yard has dried out, pick up any leaves or debris. Prune any dead, diseased, or out-of-control branches from trees and shrubs. Remove any weeds or crabgrass by pulling the entire root system by hand or with a shovel or weeding tool. Try a natural herbicide if your yard is overrun by weeds or sprouting between concrete areas.
Pressure wash your home’s exterior
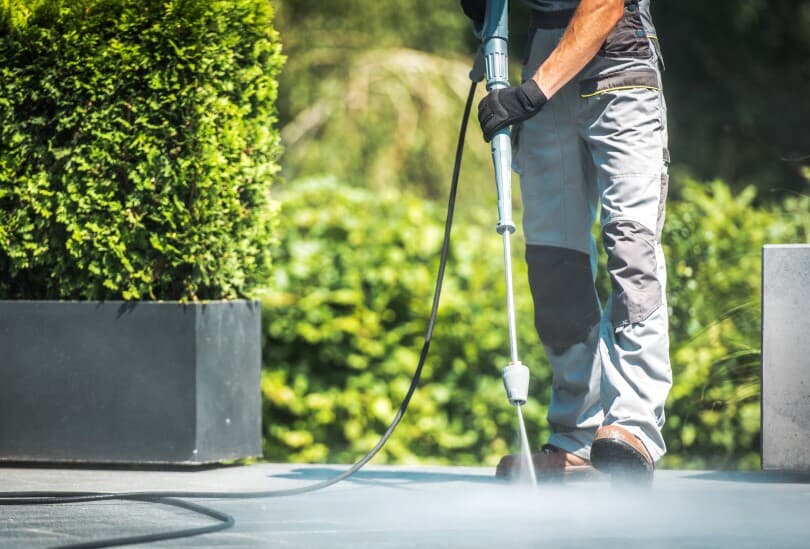
Use a pressure washer with detergent to remove caked-on dirt and grime from the exterior. Clean with slow movements of the wand. Let the washer’s cleaning solution work into the area for a few minutes before you rinse with a water-only stream from the washer or water from a garden hose. Always start with a lower pressure when unsure of the effects it may have on the surface.
Tip: Pressure wash your house before you clean your windows, or the overspray may make a mess of your hard work!
Fertilize and seed your yard
In the spring, seeding your lawn is a good practice to make the turf denser and more robust. Apply seeds by hand or with a spreader. Moisten the soil lightly with water from a garden hose before and after applying grass seed.
Prepare your patio

One of the best things about spring is the ability to enjoy the outdoors. Preparing your patio ensures you can enjoy your outdoor living to the fullest.
- Sweep debris from your patio surface, such as leaves, twigs, and dirt.
- Clean your patio furniture, cushions, and umbrellas using a mild detergent and a soft-bristled brush. Rinse thoroughly and let them dry completely before putting them back in place.
- If you have a grill on your patio, inspect it for any damage or wear and tear. Clean the grates and burners with a grill brush and replace any broken or worn parts.
- Use a pressure washer or a garden hose to wash the patio surface thoroughly. If you have stubborn stains or mold, you may need a patio cleaner or a mixture of water and bleach. Be sure to follow the manufacturer's instructions carefully.
- Bring some color and life to your patio by adding potted plants or a small herb garden. Choose plants that are suitable for your climate, and will thrive in your outdoor space.
- Install outdoor lighting such as string lights, solar-powered lanterns, or pathway lights to create a warm and inviting atmosphere.
- Refresh your outdoor space by rearranging your patio furniture to create a comfortable and inviting seating area. Consider adding a fire pit or outdoor heater to extend your outdoor living season into the cooler months.
Check out the Brookfield Residential blog for design advice, homebuying insights, mortgage tips, and more, including the most durable patio furniture and the complete guide to patio umbrellas. You can also explore where we build and connect with our sales team when you’re ready to learn more. We’ll be expecting you!
